
BritSILK – because You’re Gorgeous (I’d do anything for you!)
When it comes to yarn I am quite often drawn to softer, silkier and more sophisticated variety. So when Joy at The Knitting Goddess announced that she was developing a new line that replaced nylon with silk I was very keen to try it.
Unsurprisingly, the BritSILK did not disappoint, I was in the process of packing up my house when it arrived and it spent the first few days in my pocket where I would bring it out, stroke it and sigh over its beauty in times of stress.

BritSILK Beauty in Almost a Rainbow 🌈
Joy’s colours are always delightful; I feel that they sit in that happy place between brash, over saturated brights and subtle faded-glory pastels. The silk ensured a shimmering lustre that seemed to illuminate the colours making them impossible to resist.
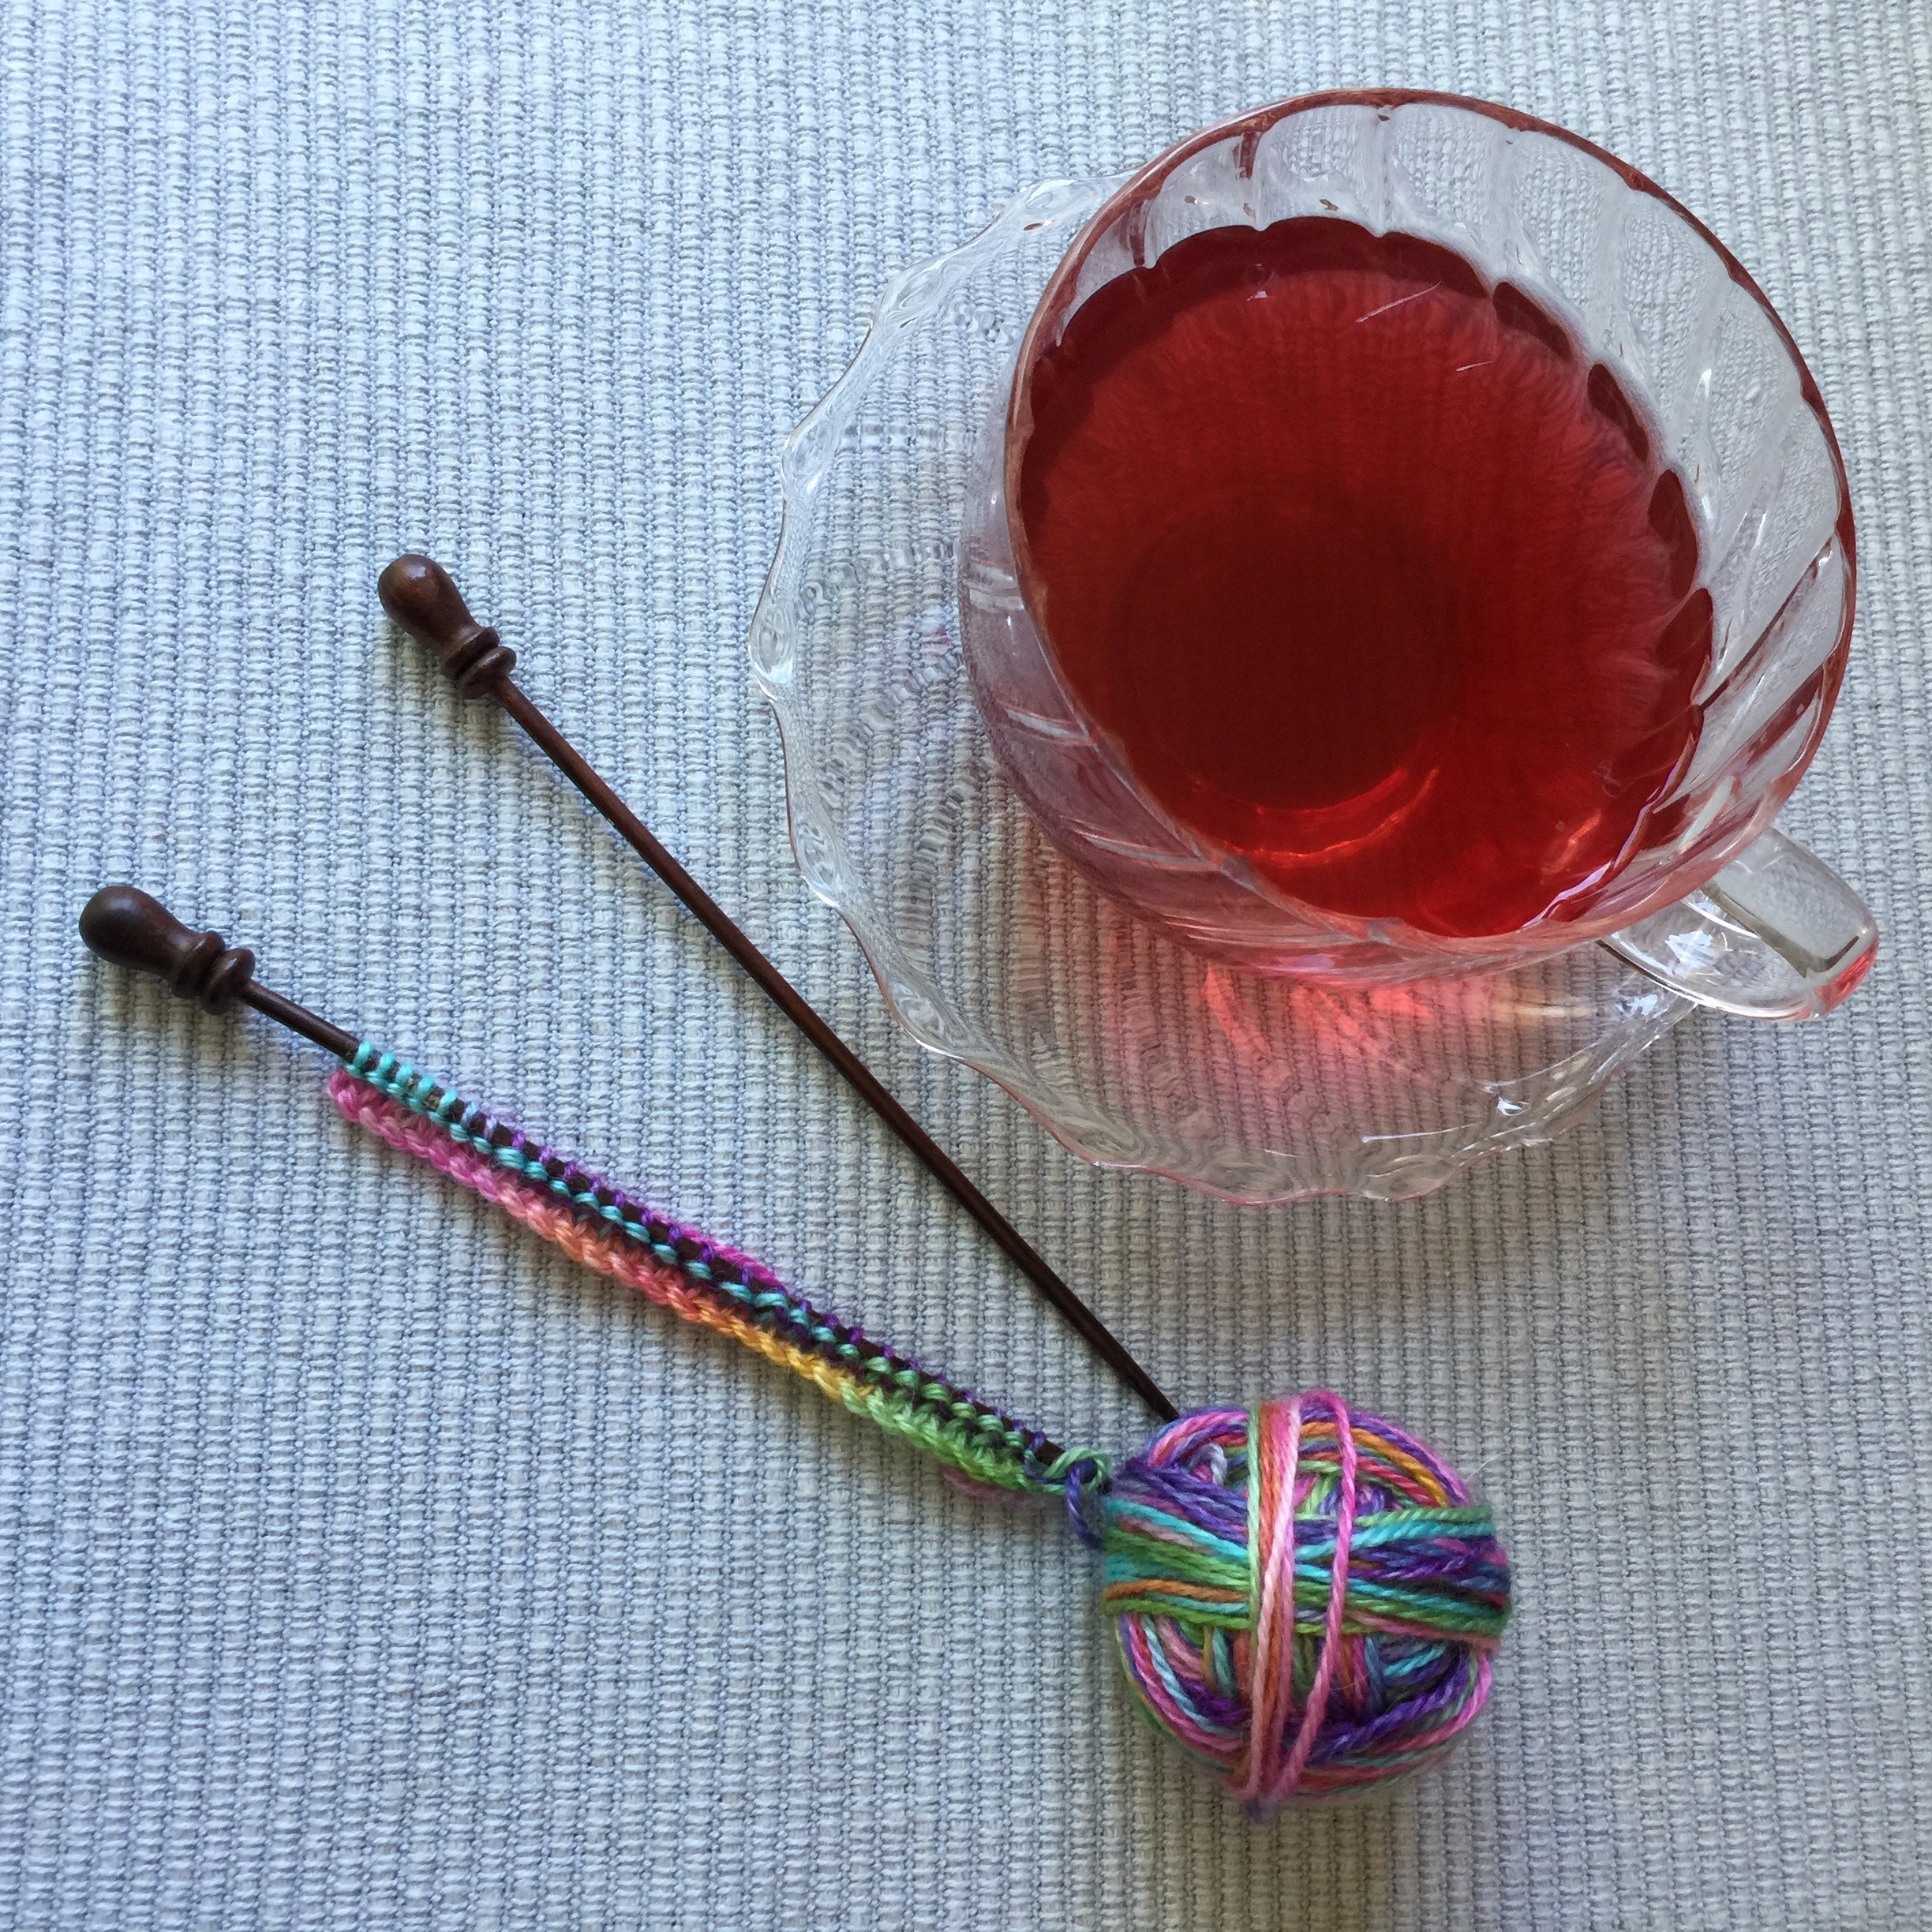
Having carried my precious skein up to my new home I was keen to cast on. So keen in fact that I didn’t even wait to find my swift! Instead I opted for the old school Scandinavian approach of putting it Snood-like around my neck and winding by hand!

Makes a perfectly beautiful snood unknitted!
As a designer, I am always interested in how a yarn will cope with shape and drape; trying to find the perfect balance so that neither is compromised. I found, as a loose knitter, that the BritSILK was best worked on a 3mm needle which gave a solid stability to the square swatch without any riditity that would affect the drape for softer designs like shawls or garments.
3mm rosewood needles worked a treat.
I was also interested in seeing the impact that the variegated shades used in the ‘Almost a Rainbow’ colour way would have on more complex stitch patterns such as lace or cable. Too often the impact of the colour or stitch is diminished by trying to over complicate things.

Garter, reversed stocking stitch, cables and lace.
I actually found the effect of both cable and lace pleasing as there is such a clever blending between the colours that leaves a clean colour change that doesn’t clash with the stitch pattern.

Heartwarming
I think I can honestly see lots of BritSILK in my future and, if you are off to Fibre East, I suggest you start sharpening your elbows in readiness for the enevitable scrum for this scrumptious new yarn!
You can find The Knitting Goddess’ website by following the link…
https://theknittinggoddess.co.uk/
(Apologies to any of you that may have the marvellous 1996 BritPOP standard “You’re Gorgeous” by the Bluebirds ear worm!)
Knit For Peace, Knit For Hope, Knit For Charity…
No one who witnessed the harrowing images or heard the heartbreaking accounts of the Grenfell Tower Disaster could have failed to have been moved by the enormity of such a tragedy.
Such were the outpourings of love and charity that stories of kindness soon turned to scenes of chaos and for a simple individual like myself I was at a total loss as to what I could do to offer any sort of practical help.
Then I saw the Knit For Peace appeal for hand knitted and crochet items that had been requested by the NGOs working with the families and I was so relieved I could actually do something, however small, to help.

Used with permission from Knit For Peace
Now I know that charity knitting can be a contentious issue and there are many compelling arguments on both sides and yes, it does often feel a bit self centred to feel that you need to be involved, but my personal feeling is that it is better to act than not!
For anyone unfamiliar with their work, Knit For Peace have an excellent reputation for matching the knitted goods donated to them with the most appropriate project and it was this reputation that spurred me on.
Their plan is to send goods in September when the weather starts to get cooler rather than overwhelming them now.
Their list suggests:
- Blankets
- Dressing gowns
- Baby layettes
- Children & toddlers hats, scarves and ponchos
- Adult Clothes and accessories

Used with Permission from Knit For Peace
Having looked at the list of suggested items I couldn’t help feeling that a small list of suitable free patterns that fitted the bill would be a really useful resource and so I sent out a quick call to some of my designer friends.
The response, unsurprisingly, was amazing!
So here is the list:
(Please do remember that the patterns listed are the copyright of the individual designer and they have kindly given permission for their work to be listed for personal and charity use only. I would respectfully ask you to please be mindful of their generosity and not expect pattern support directly from them.)
Rachel Atkinson: Rachel’s wonderful free patterns for a cowl and mitts can be found listed on the Loop Knit Lounge page –
http://www.loopknitlounge.com/category/free-knitting-crochet-patterns/
Renee Callahan: Renee has a stunning Sea Scales cowl and a really useful reflective hat pattern listed on Ravelry –
http://www.ravelry.com/patterns/library/sea-scales-cowl
http://www.ravelry.com/patterns/library/reflector

Used with permission from EastLondonKnits
Anna Elliott: Anna has a pattern for the cutest Snug as a Bug pram set over on her blog –
https://annaelliottdesigns.wordpress.com/
Clare Devine: Clare’s deliciously Toasty cowl and super Sarral Hat can be found on Ravelry –
http://www.ravelry.com/patterns/library/toasty-9
http://www.ravelry.com/patterns/library/saaral
Alitzah Grant: As well as the patterns listed on my blog, there is a pattern for my Gertrude Mitts on my Ravelry page –
http://www.ravelry.com/patterns/library/gertrude-6

Sarah Hazel: Sarah’s Fennella scarf pattern is the perfect stash buster and is available from her website –
http://www.sarah-hazell.com/products/fenella/
Sandra Oakeshott: Sandra has a number of really useful patterns on Ravelry that are free. I’ve got the child’s Mitts on my list of things to knit!
http://www.ravelry.com/stores/sandra-alice-designs
Louise Tilbrook: Louise’s Fuss Free Baby Cardigan is the perfect quick Knit – I’ve managed 3 in as many days! The pattern is on Ravelry –
http://www.ravelry.com/patterns/library/fuss-free-baby-cardigan

Tin Can Knits: Emily and Alexa’s Simple Collection of 10 straightforward patterns tick so many boxes. I’m planning some worsted weight socks for a quick and warming Knit. The whole collection is free and available on Ravelry
http://www.ravelry.com/patterns/sources/the-simple-collection/patterns
Woolly Wormhead: Hat architect extraordinaire, Woolly Wormhead has a staggeringly impressive 44 free hat patterns to knit and crochet over on her website –
http://www.woollywormhead.com/free-patterns/

Image used with Permission of Woolly Wormhead
Information on the phenomenal work that Knit for Peace do as well as more details about the Grenfell appeal can be found on their website:
http://www.knitforpeace.org.uk/category/blog/

Used with permission from Knit For Peace
Take very good care,
🕊🌸🕊🌷🕊🌸🕊Alitzah 🕊🌸🕊🌷🕊🌸🕊
It’s Pretty Isn’t It?
Lora talks about her photography adventures, taking pics for the Nellie May Shawl in our latest issue. Source: It’s Pretty Isn’t It?
Source: It’s Pretty Isn’t It?
All The Fab Fun of the Fair!
Once in a blue moon I get an overwhelming urge to take a stall at a craft market. So when my local Infant School appealed for stall holders for their Summer Fair I thought it would be the perfect opportunity.
With my usual mix of enthusiasm and excitement, I set about planning goodies that would be suitable for a predominantly ‘pocket money’ driven economy; in other words, what small children would eagerly want in exchange for all those hot, sticky, shiny pennies that they have extracted from their parents!!

Unfortunately, despite having the ability to identify my target audience I shall never, ever make any money from a craft fair and the reason is very simple; I get so carried away that I always buy too many fancy materials!

To me the most joyful thing about having a stall is the planning, the purchasing, the producing and, finally, the packaging.

I decided to go for pretty cotton purses decorated with wonderful wooden butterfly buttons…

I adapted a pattern I had recently used to make some really sweet pansy brooches, although I have to admit, I did keep a couple of these for myself!!

I also made some jolly hair slides again with some cute floral wooden buttons.

Then there were a few “Do It Yourself” knitting kits to encourage the children to produce their own hand made goodies.

And then there were my absolute favourites; tiny crocheted key rings. These were just such fun to make and, judging by the their very quick disappearance, very popular with the children too!

The most popular key ring amongst the children and the adults were the “Fab” ice lollies!!
They were incredibly simple and quick to make so I thought I would share the pattern I devised should you feel the need to whip up a quick present or two!
Materials:
- 4-ply Cotton in Red, Cream, Brown & Beige
- 2.5 mm Crochet Hook
- Toy Stuffing
- Embroidery Thread in Pink, Cream, Yellow and Pale Blue
- Key Ring or Lobster Claw
- Sewing Needle

With the Red cotton make a chain of 9.
Foundation Row: Work a DC into the second chain from hook. Work a DC into the following 7 chains.
Row: Turn, 1 DC, work 1DC into each of the 8 stitches.
Work 3 more Rows in Red, 4 in Cream, 10 in Brown, 4 in Cream and 4 in Red.

Using the embroidery threads, stitch scattered stitches “pell mell” to resemble the sprinkles.

To make the “stick”, insert crochet hook into the 3rd stitch at the bottom of the piece and, using the beige cotton, DC into the next 3 stitches.

Turn, work 1 DC and then work 1 DC into the 3 stitches. Repeat this 13 times.

With the right side inside, fold the main piece in half so that the Red, Cream and Brown all match up. Sew up the sides.
Turn the piece back so the right side is out and stuff with toy stuffing.
Sew up the bottom of the main piece with the Red.
Fold the “stick” in half and sew it up the side, along the top (where it meets the Red) and up the other side.
Sew on the Lobster Claw or Key Ring and you are done!

How FAB is that??
Take Care,
Alitzah
Strawberry Teas forever…
I’ve always been a great believer in “Horses for Courses” and so, when I decided that I wanted to make some jolly tea cosies for a forthcoming event, I knew that using my finest Cashmere or Silk yarns would only result in tears before bedtime!
What was required was a yarn that was hard-wearing, very washable and with a good texture. It should have enough Wool to give it excellent definition and to keep any acrylic “shine” at bay.
I went for the very sensible and robust Hayfield Bonus Aran; with 20% Wool and a choice of over 50 colours including Tweeds it gave me the range and colour palette to have some real fun!!
The yarn comes in 400g balls which makes it incredibly good value.
I simply wound off a few smaller balls to make things more easy to transport. After all this is an excellent portable project!

I am also a great believer in “not trying to reinvent the wheel”! And with so many jolly, traditionally English Tea Cosies around, I decided to take my inspiration from original Vintage tea cosies of the 40s and 50s (No surprise there if you are a regular reader of my little blog!).
Until one starts to research Tea Cosies, one never really realises just how many types there are!!
The two that stood out for me were the “Strawberry” and the “Basket of Flowers”.

For the “Basket of Flowers” style, I thought it might be nice to try a different flower from the usual rose and so when I came across the pattern for this pretty little pansy from Woman’s Weekly (Knitting and Crochet special, May 2014) I was inspired!

For the body of the tea cosy I wanted to create something rigid, that could stand up in its own right. After a fair bit of to-ing and fro-ing I have come up with what I think is the perfect pattern.

The pattern I have devised can be utilised in a million different ways for one to create the Tea Cosy of one’s dreams! (Do you dream of Tea Cosies?? I think I might!!)
I knitted the first 3 stitches and last 3 stitches on every row up until Row 28 to give the sides some strength and a neater edge for the handle and spout openings.
As you can use any stitch that can be multiplied to make 24, I have simply written “pattern”. I’ll give you the “pattern” for the basket weave stitch and the strawberry stalk and leaves at the end.
Pattern for a Tea Cosy Body: (Make 2)
6mm knitting Needles
Hayfield Bonus Aran
Using the Aran doubled, cast on 30 stitches.
Row 1: K3, pattern 24, K3
Repeat 23 rows more.
Row 25: K3, Sl1, K1, PSSO, Pattern 20, K2 tog, K3
Row 26: As Row 1
Row 27: K3, Sl1, K1, PSSO, Pattern 16, K2 tog, K3
Row 28: As Row 1
Row 29: (K2 tog) x 3, pattern to end. (No need to K the last 3)
Row 30: (P3 tog) x 3, Pattern to end.
Repeat Rows 29 and 30 once more.
Cast off.

To make up:
With the right sides facing back stitch from the top of the shaping, (i.e. From where you stopped Knitting 3 at the beginning and end of the row), across the top of the cosy and down to where the shaping starts on the other side.
Sew up 2cm at the bottom of each side together.
Et Viola! You have the body of a tea cosy all ready for you to decorate in which ever way you fancy!
For the Strawberry, I used Deep Red (shade 830), knitted the first 4 rows in Garter Stitch and then my “24 stitch pattern” was Stocking Stitch, I Swiss embroidered the pips on afterward in Mustard (Shade 768).
The stalk and leaves were knitted in Lime (shade 772)
The stalk was an iCord using the yarn doubled with 4 stitches on 6mm DPNs and the leaves were knitted diamonds using the yarn doubled again on 6mm:
- Cast on 1
- Knit into the front and back of the stitch (3)
- K1, M1, K1, M1, K1
- P5
- K2 tog, K1, K2 tog
- K3 tog.
I sewed the diamond tops together to form a leaf “hat” and then attached the iCord and sewed the whole thing onto the tea cosy.

For the Basket Weave Stitch I used Light Natural (Shade 936) and worked the “24 stitch pattern” thus:
- K4, P4, K4, P4, K4, P4
- Repeat Row 1
- Repeat Row 1
- Repeat Row 1
- P4, K4, P4, K4, P4, K4
- Repeat Row 5
- Repeat Row 5
- Repeat Row 5
Repeat rows 1-8 three more times.
For the pansies I used: Tudor Rose (905), Purple Heather (871), Rusty (771), Navy (995) & Mustard (768).
And, as another firm belief of mine is “Waste Not; Want Not”, you will notice that the surplus was crocheted into a giant granny square picnic blanket!
Perfect for sitting on whilst enjoying a beautiful and glorious afternoon cup of tea on an English Summer’s afternoon!
Now pass me the Lemon Drizzle cake…
Four Ply Forever…
One of the few drawbacks of being a designer is that you rarely have the chance to be a little bit selfish and think about yourself. Please don’t get me wrong! I absolutely adore what I do and am constantly pinching myself to see if I’m just simply dreaming my wonderful life.
On occasions though, there is an urge to think about one’s own needs and let someone else do the work for you!!
This was true recently when I was thinking about clothes for my forthcoming holiday. In the Summer I am usually to be found sporting nothing more exciting than a white t-shirt and a jolly patterned skirt.
This is not what people expect from a designer! The expectation that you will be always draped in some interesting, intricate and individual design does loom large and, sadly, I do sometimes feel that I’m letting the side down!
Now as a matronly figure both physically and chronologically I tend to like slightly fitted vintage styles from the bygone days of the 40s & 50s, so I was over the moon when I came across the Sirdar patterns for their new 4-ply cotton at my lovely local wool shop.

These perfect patterns just seemed to tick all the right boxes! Flattering, fitted and fifties inspired! What more could a girl want? Ah yes! The natural beauty that is Cotton!
The patterns are also crisply laid out with incredibly clear instructions and, depending on size, takes as few as 2 balls. Which makes this delicate lace top vest very, very affordable!

I know a lot of knitters shy away from 4ply as it hardly provides the instant results of more robust yarns but it does give a delicious delicacy that is so satisfying that one can’t help but be immensely chuffed at a job so very well done!!
The other marvellous thing about Sirdar patterns, that I only recently discovered, is that they make sure that the plys are “true”. in other words; they can be knitted using other 4-ply yarns.
I can just picture this classic beauty in Sublime’s heavenly Baby Cashmere Merino Silk 4-ply!

Great news for anyone who has found the perfect pattern but found the yarn used was so “unique” that it was often the wrong colour, discontinued or frankly, too expensive!!
So, go on! Be brave! You may huff and curse and rue the day you were ever tempted to pick up a pair of “cocktail sticks” and the 4ply; but I promise you, the results are worth every stitch!
But… just in case you’re still not convinced by the fabulousness of 4-ply. You can always cheat like I did: using Sirdar Cotton DK, 3.75 needles and making it two sizes smaller!
Ta dah!

Anyway, enough cheating! I’ll get back to the grindstone!
The wonderful, magical, blithesome grindstone that is my life.
Happy knitting!
Alitzah
The Colours of Kathmandu.
Whilst conducting research about knitting for Nepal and those affected by the devastation caused by the recent earthquakes, I came across this beautiful, tiny ball of silk…

It is made from multicoloured scraps of silk from Buddhist Temple robes in Nepal, I was so intrigued that I ordered a couple of balls to see what it was like.
The first thing that hits you when you hold it is the cornucopia of colours that shine out. My eyes struggled to process the countless colours that were emerging from this tiny ball of joy! All at once there was an opulent orange, a tantalising turquoise, a glowing gold! It is spectacular! It was as though the silk itself was a magical prism.
My idea when I ordered it was to turn it in to purses that I could sell in aid of Operation Orphan.
The yarn is already Fair Trade, with profits going back into the project producing it in Kathmandu, so it would be of double benefit to Nepal.
So, with a little wrestling, (it has absolutely no concept of ply or consistency of thickness!) I managed to crochet a rectangle of riotous colour that was nothing more than rapturous!

Having attached it to a purse clasp, I present you with my perfect recycled purse!

I can honestly say that, despite the slightly sore fingers, the whole experience was unbelievably blithesome!
If you are interested in helping the people of Nepal by buying a purse, I have uploaded it onto my Folksy account.
https://folksy.com/items/6665503-Recycled-Nepalese-Silk-Purse
I am aiming to give £5 from each sale to Operation Orphan.
Right, I’m off to order some more of this beautiful, beneficial Silk…
Bye Baby Bamboo Bunting…
I’ll let you into a little secret; a few years ago I had a Brief Encounter with a yarn I would not have even looked at normally! More recently, after using it on a major commission, this “fling” has now blossomed into a full scale romance of which even Mills and Boon would be proud!
I admit it; “I am in love with Snuggly Baby Bamboo!”
You may wonder why I would have normally overlooked this yummy little yarn.
It’s simple, it’s often tucked away with all the baby yarns and unless you have a beautiful bouncing baby for which to knit, it is all too easy to ignore the “Baby Section” for more tantalising and tempting “grown up” yarns!!
The reason I ventured forth into the pastel palace of baby yarns was that a cousin had had the cutest little girl and, worried that she would be inundated with lots of marvellous matinee jackets from her prolific Grandma, I decided that bunting would be just the thing!! As, let’s face it, one can never have too much bunting in a baby girl’s room!
The Baby Bamboo really stood out from the other yarns; it has a plush pearlescence about it that is very very alluring and it comes in a dizzying amount of colours!! It did seem perfect for my intended project.

Using a standard 4mm hook, the result when crocheted was just scrumptious! The texture is slightly springy and very soft but firm. Making it an absolutely perfect yarn for beautiful blanket making too.
The Yarn, which is made from 80% Bamboo Viscose and 20% wool, is a natural fibre which enhances its appeal even more in my humble opinion.

I was recently contacted by a very lovely lady who had seen a photograph of the original bunting I designed four years ago and wanted to know if I could share the pattern as she wanted to make it for her English Country Garden themed Wedding!
I spent most of yesterday recreating the bunting so that I could share the pattern with you.
(This was not exactly a chore as it was blissfully sunny and I was sat in the garden with The Archers podcast for company!)
So, without further ado, here is said pattern:
Materials:
Sirdar Snuggly Baby Bamboo DK:
1 ball each of 131Cream; 116 Lemonade; 114 Candy; 119 Peony; 115 Bobbi Blue; 133 Willow.
Method:
Using Lemonade and a 4 mm hook, make a chain of 3.
Work 11 half trebles into the last chain from the hook.
Slip stitch into the top of the original chain.
Cut yarn and finish off.

With Cream, insert hook into a stitch and make a 4 chain. Into the same stitch work a 2 double treble cluster. (Please see below if you would like more details)
*Ch 2
Into the next stitch, work a 3 double treble cluster.

Repeat from * until you have 12 petals. Chain 2 and slip stitch into the top of the first Cream chain.
Cut yarn and finish off.

With one of the remainng colours, insert hook in to the stitch next to the chain space, and make a 3 chain (counts as a treble).
Into the next stitch (at the very top of the cluster) work a treble. Work another treble into the chain space.
Work in this way until you have 11 trebles.
You should now be at a chain space for the next, corner stitch: work 1 treble, 3 chain, 1 treble all into the chain space.
*Work another 1 treble into the next 11 stitches and work a corner stitch.
Repeat from *

Slip stitch to the top of the chain to form a triangle.

Next round (triangle?):
Work a 3 Chain, work 1 treble into the next 12 stitches.
This should bring you to the corner. Work the corner the same way as before.
*Work 1 treble into the next 13 stitches and then work a corner.
Repeat from *
Slip stitch to the top of the chain to form the finished pennant.
To make the bunting “tape”:
Row 1: Make a 20 chain in Cream, *DC into each of the stitches at the top of the pennant, chain 9. Repeat from * as many times as you need (it depends on how many pennants you want!). Chain 11, turn.
Following Rows: 1chain, 1 DC into every chain/stitch from the previous row. Turn.
Work 3 more “following rows”.
And you are done!!
I shall now attempt to describe the various cluster stitches for those who may need it:
A double treble crochet cluster:
- Wrap the yarn twice around the hook
- Insert into stitch
- Wrap yarn around the hook and pull back through the stitch.
- Wrap the yarn around the hook again
- Pull the last wrap through the first two stitches on the hook.
- Wrap the yarn around the hook again
- Pull the last wrap through the first two stitches on the hook.
- You should now have 2 stitches on the hook
- Repeat stages 1-7 once for a 2 double treble cluster or twice for a 3 double treble cluster.
- You should have either 3 or 4 stitches on your hook.
- Wrap the yarn around the hook and pull through all the remaining stitches.

Here is the 3 double Treble at stage 10.
Conclusion:
I do hope you like my lovely little bunting and I really do hope that it puts in an appearance at the English Country Garden Wedding!!
T. T. F. N!
Alitzah.
A Square A Day, Could Keep The Cold At Bay…
A few days ago I was out and about when I came across the most beautiful handmade buttons. They where inexpensive so I decided to buy them. As I was paying, the lovely lady in the shop told me that the profits would be going to help the Nepalese people. I was pleased but to be truthful it seemed like an added bonus.

Later that evening, whilst watching the news, a report about a local charity working in Nepal came on. My eager ears pricked up when I heard them talk about the admirable donations of hand-made blankets that they had received from knitting groups around the country for the countless children left out in the cold by the recent, devastating earthquakes.
This seemed to be something more than a coincidental coincidence!
Now, believe it or not, the concept of charity knitting is actually quite a contentious one! There are those who argue that by knitting for charity it exonerates Governments and big businesses from behaving more conscientiously.
That may be so, but I feel that us, “lesser mortals”, can often feel frustrated by fact that we don’t have the deep, filled pockets of the fabulously philanthropic J. K. Rowling or Bill Gates!
So what can we do?
The answer is simple; We can knit!!
I did a little research into the outstanding work of Operation Orphan and the blankets that they are in so desperately a need.
Most of the blankets needed seemed to be around 3-4 foot square (100 – 120 cm) made up of 8 inch (20 cm) squares.
This also seemed to be the case for the other caring charities collecting beautiful blankets for hospitals here in Britain.
After some fiddling and faffing, I have come up with a 8 inch (20 cm) square that I think would be just the job for any Charity blanket project.

I wanted the square to be jolly, interesting but not too complicated so as to bamboozle the beginner! In short, I like to think that it is an inclusive square; something that everyone can enjoy making.
So what better than the humble “Mitred Square”?

My glamorous assistant, Octavia, helped with the colour choice and then it was a simple case of trial and error to get the right number of stitches to get 8 inches.
8 Inch Mitred Square Pattern:
You will need:
- 4 mm knitting needles
- DK yarn
- A happy heart
Cast on 79 stitches
Row 1: K38, slip 1, K2tog, PSSO, K 38
Row 2: Knit
Row 3: K37, Slip 1, K2 tog, PSSO, K37
Row 4: Knit
Row 5: K36, Slip 1, K2 tog, PSSO, K36
Row 6: Knit
Continue in this way, decreasing on every other row, until you have 1 stitch left.

Pull yarn through the last stitch to finish square.
You can change colours as and when the mood takes you. I changed mine after 24 rows and 48 rows.

If you are interested in making a blanket or even just a few squares, I am more than happy to get them to Operation Orphan.
A lovely local shop has very kindly agreed to take delivery of them should you wish to post them to me:
Of Blithe Spirit Blanket Appeal
c/o Heidi’s Home Furnishings
5 Portland Road
West Bridgford
NG2 6DN
I really hope that you enjoy knitting the squares; it would be so lovely to be able share any that you have produced here or on the Of Blithe Spirit Facebook page.
For more information on Operation Orphan please follow the link:
http://www.operation-orphan.org/project-nepal.htm
One last thing: I use a lot of Sirdar yarn, so I was incredibly moved and thrilled that they have very kindly donated a wonderful bundle of Snuggly for me to use! Thank you!
With all best wishes,
Alitzah
